
Authorized Installer Resource Center
Warranty Policy, Registration & Claim Support
Use this page to review the Shingle Shield MAX™ warranty policy, register completed projects in the homeowner's name, submit warranty-related issues, and access documents that support a clear warranty process.
Section 01
Warranty Policy
Policy First, Registration Second
Installers should review the current warranty policy before submitting a warranty registration. The registration should match the completed project details and should be submitted for the homeowner who owns the property.
- ✓Confirm the current warranty policy before making warranty statements to a homeowner.
- ✓Use the approved warranty language from Vital Coat® materials.
- ✓Direct unclear warranty questions to [email protected] before submitting.
Section 02
Warranty Registration
Use this section for the homeowner warranty registration form, registration button, or embedded GHL form.
Register in the Homeowner's Name
Warranty registration is tied to the homeowner and property, not the installer. The installer may complete the form, but the registration information should reflect the homeowner and completed project.
- 1Confirm the homeowner's name and project address.
- 2Confirm installation date, product used, and project details.
- 3Submit the warranty registration through the approved form.
Why the Homeowner Name Matters
Warranty records should identify the homeowner and property connected to the completed installation. The installer may help submit the form, but the warranty registration should not be entered under the installer as the covered owner.
- ✓Use the homeowner's full name.
- ✓Use the property address where the product was installed.
- ✓Confirm details before final submission.
Section 03
Warranty Claim or Issue Submission
Use this section for the warranty claim/issues form, support intake button, or embedded GHL form.
Before Submitting a Claim or Issue
Installers should provide enough detail for Vital Coat® to review the issue, understand the homeowner's project, and determine the next appropriate step.
- ✓Homeowner and installer information
- ✓Project address and installation date
- ✓Product used and approximate quantity
- ✓Clear photos or supporting documentation
- ✓Description of the condition or concern
- ✓Any relevant communication or notes
Section 04
What to Prepare Before Submitting
Complete submissions help Vital Coat® review registrations, questions, and issues more efficiently.
Homeowner Name
The warranty registration should identify the homeowner connected to the property.
Project Address
Use the property address where Shingle Shield MAX™ was applied.
Installer Company
Include the authorized installer company name connected to the project.
Installation Date
Provide the completed installation date or best available project date.
Product Used
Identify the Vital Coat® product used on the project.
Approximate Quantity
Include approximate product quantity when requested or available.
Photos
For issues or claims, include clear photos when applicable.
Clear Description
Explain the registration details, issue, or warranty question clearly.
Section 05
Warranty Documents
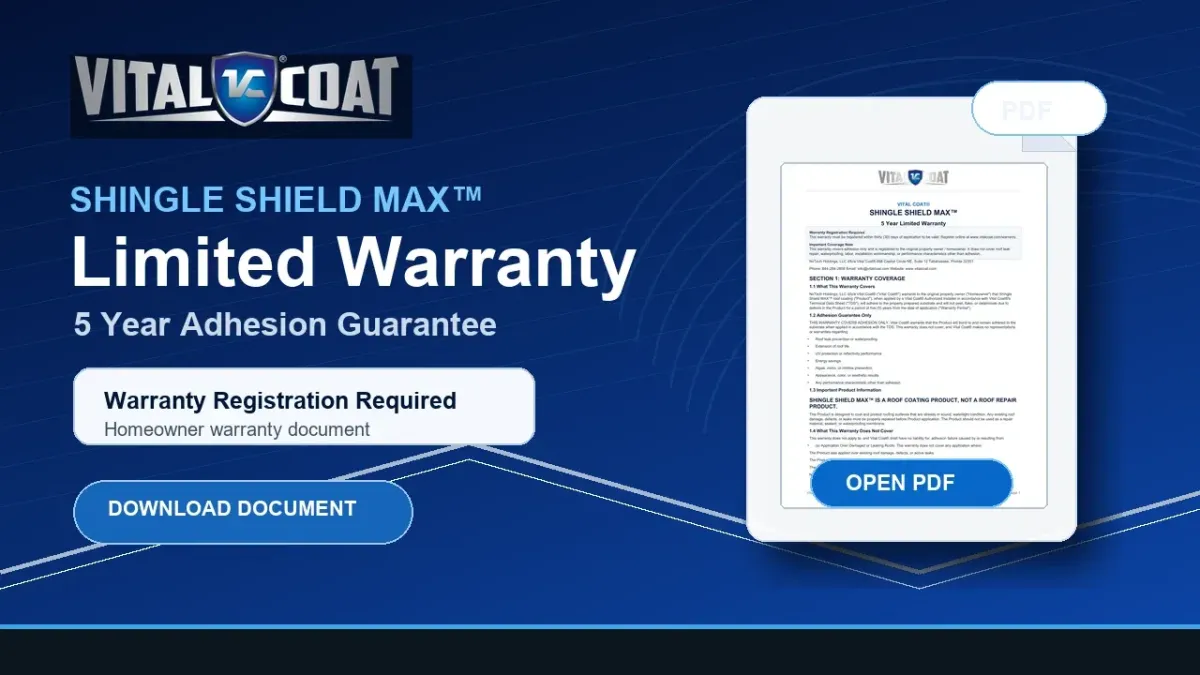
Add downloadable warranty documents, terms, registration instructions, or claim support resources below this section.
Warranty Terms
Approved warranty documents and terms that installers can reference when needed.
Registration Support
Guides or checklists that help installers submit complete warranty registrations.
Claim Support
Resources that explain how to document an issue and what information Vital Coat® needs for review.